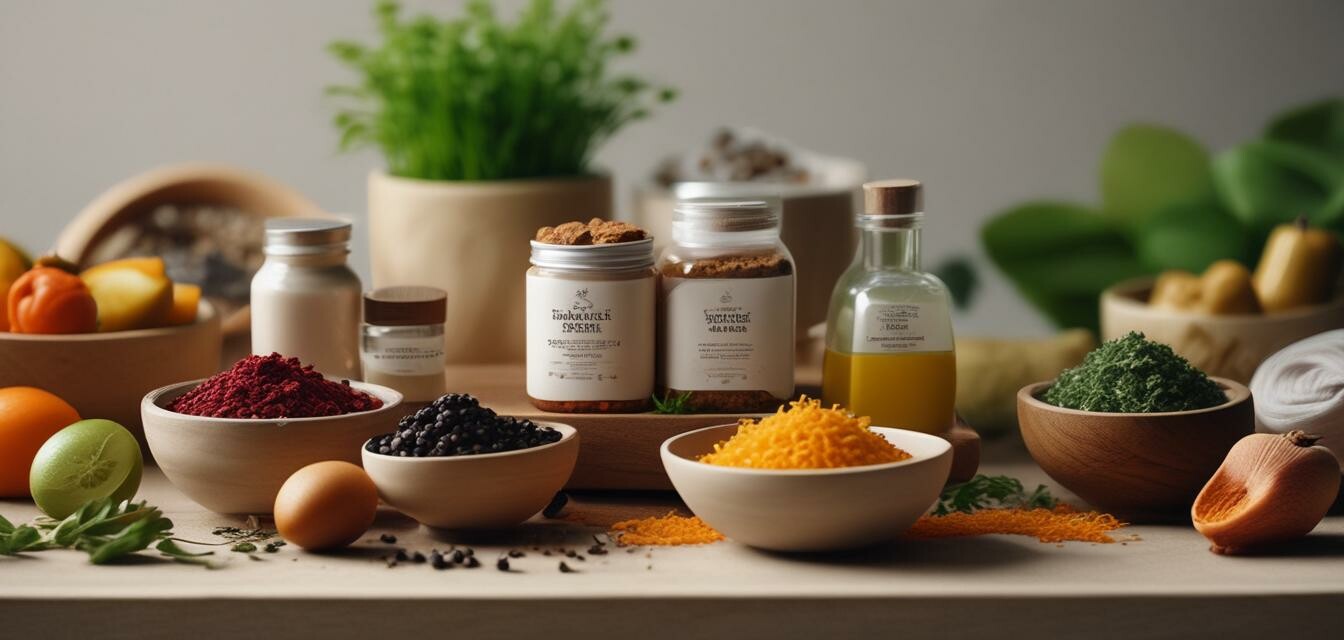
How to Create Your Own Organic Face Mask at Home
Key Takeaways
- Making your own organic face mask is simple and fun.
- You can use common pantry ingredients for glowing skin.
- Customize your mask based on your skin type.
- Always conduct a patch test before applying to ensure no sensitivities.
Creating your own organic face mask at home can be both enjoyable and beneficial for your skin. Not only can you control the ingredients, ensuring they are safe and natural, but you can also customize the mask based on your skin type. Below is a step-by-step guide to help you whip up an effective mask using pantry staples!
Why Choose Organic Ingredients?
Using organic ingredients offers numerous benefits:
- No harmful chemicals or fragrances.
- Natural antioxidants that nourish the skin.
- Gentler on your skin, reducing the risk of irritation.
Getting Started: Essential Ingredients
Here are some common organic ingredients you can use to create face masks:
| Ingredient | Benefits | Ideal for Skin Type |
|---|---|---|
| Honey | Natural moisturizer, antibacterial properties | All skin types |
| Oats | Soothes and exfoliates | Sensitive skin |
| Avocado | Rich in fatty acids, hydrates | Dry skin |
| Yogurt | Exfoliates, tightens pores | Oily and combination skin |
Step-by-Step Instructions to Create Your Face Mask
Step 1: Gather Your Ingredients
Choose your ingredients based on your skin type and needs. Some popular combinations include:
- Honey and oats for moisturizing.
- Avocado and yogurt for hydration.
- Oats and honey for soothing irritation.
Step 2: Prepare Your Workspace
Make sure to work in a clean area and gather all necessary tools:
- Mixing bowl
- Spoon or spatula
- Measuring spoons
- Face mask brush (optional)
Step 3: Mix the Ingredients
Using your prepared ingredients:
- Combine all ingredients in the mixing bowl.
- Mix thoroughly until you get a smooth, consistent paste.
Step 4: Clean Your Face
Before applying your mask, make sure your face is clean:
- Wash your face with a gentle cleanser.
- Pat dry with a clean towel.
Step 5: Apply the Mask
Using a mask brush or your fingers:
- Apply an even layer of the mask onto your face.
- Avoid the area around your eyes and mouth.
Step 6: Relax and Let it Sit
Allow the mask to sit for 10-15 minutes. Use this time to unwind!
Step 7: Rinse Off
After the time is up, rinse your face with warm water:
- Gently massage the mask off in circular motions.
- Make sure to remove all remnants.
Step 8: Moisturize
Finish by applying a gentle moisturizer to lock in hydration.
Tips for Making Your Organic Face Mask
Beginner's Tips
- Start with small amounts of ingredients and adjust according to preference.
- Use fresh organic ingredients for the best results.
- Store remaining masks in the refrigerator for up to a week; toss if you notice any changes in smell or appearance.
Storing Your Organic Face Mask
If you have leftover mask, here’s how to store it:
- Transfer the mixture into a clean jar.
- Label with the date and ingredients used.
- Keep refrigerated and use within one week.
Common Skin Concerns & How to Address Them
Here are some common skin concerns and organic solutions:
| Concern | Recommended Ingredients |
|---|---|
| Dryness | Avocado, olive oil, honey |
| Aging | Banana, yogurt, honey |
| Oily Skin | Clay, lemon juice, yogurt |
| Acne | Honey, tea tree oil, oats |
Final Thoughts
Crafting your own organic face mask at home allows you to take control of your skincare routine. With simple pantry ingredients, you can create customized masks that meet your skin's needs and pamper yourself in the comfort of your home.
For more detailed guidance on skincare, check out our other articles on how-to guides, or explore our face mask products if you're looking for ready-made options.
Pros
- Customizable based on skin type.
- Natural and organic ingredients.
- Fun and engaging DIY activity.
Cons
- Some ingredients may cause allergic reactions.
- Requires preparation and cleanup time.
- Can be messy if not applied properly.
